26 Oct Paint Tips for Your Corridor Custom Home
As a Corridor homeowner, you may want to give your home a little makeover from time to time without spending a fortune. Well, we have great news for you! You don’t have to save thousands of dollars to add on a new room or buy a house full of new furniture to accomplish that goal.
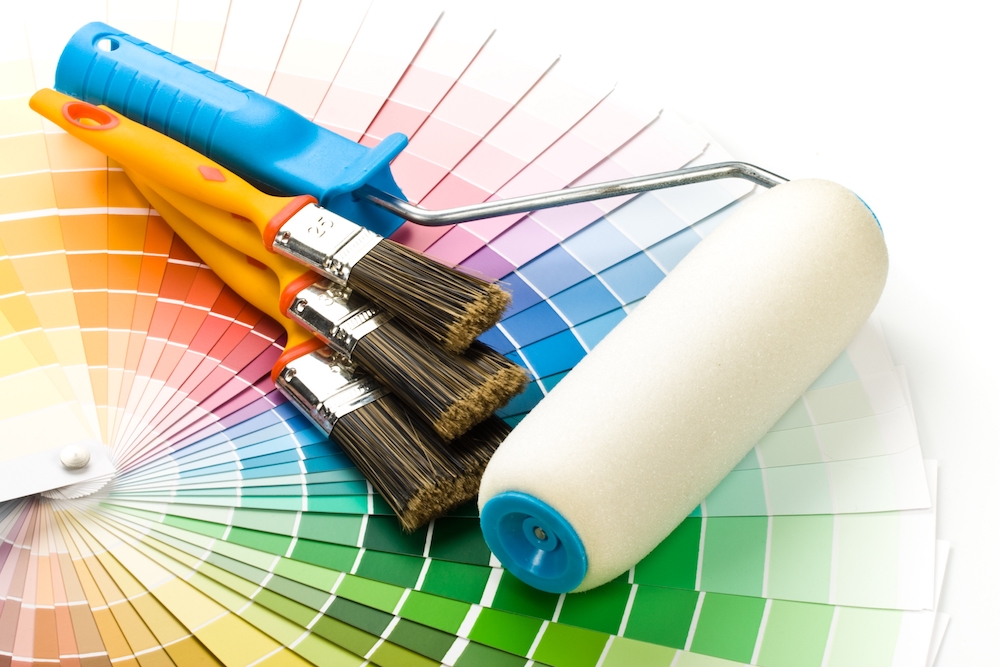
The easiest and more cost-effective way to add some new life into your home is a well planned and executed paint project! Painting a room can literally transform the entire look and feel. Depending on the color and sheen selection, it can make the room appear larger, more modern or create a warmer feel.
Today, we’ll share with you some painting basics to ensure that your next painting project is executed perfectly! Let’s get started…
Choose your paint sheen
Often people start with color, but sheen is a great starting place, as the same color will look very different based on the sheen. Here’s how to pick the right sheen.
What’s the purpose of the room? For example, is it a heavily trafficked area, is there a propensity for the area you’re painting to be touched often, etc. Once you’ve identified that, select from one of the sheens below.
- Flat
This sheen in non-reflective, but is not easy to clean, so it’s often used on ceilings. - Eggshell or Satin
This finish has a bit more sheen than flat and can be used in areas that may need wiping down over time. It’s commonly used in bedrooms, living rooms and dining rooms.
- Semi-Gloss
This sheen is good for areas that need to be cleaned more frequently. It’s more durable and shiny than eggshell or satin and is commonly used on kitchen cabinets, in laundry rooms and in bathrooms. - High-Gloss
This is the most durable paint sheen and is very stain resistant, so it’s popular on doors, trims and moldings and cabinets. There is one caveat here thought. Ensure the surface is perfectly prepared when using this sheen since imperfections are highlighted with this finish since it’s so reflective.
Select Your color(s)
This is where a lot of people tend to get a little overwhelmed, and for good reason! Have you seen how many different shades of grey paint there are? But, once you understand the basics of color and sheen, this step will feel a lot more attainable.
First, understand these color basics:
- Direct sunlight will highlight the color in its most natural form.
- Indirect sunlight will usually make the color appear a bit warmer in tone.
- Non-natural lighting will change the color depending on the types of bulbs you are using (cool, warm, neutral or daylight hues).
- Lighter colors will make a room appear larger.
- Darker, more vivid colors will make a room appear smaller.
You may already have in mind what color you’re considering, but before you go out and buy a gallon of that color, get a sample. Yes, this means investing a bit more time and making an extra trip to the paint store, but this step ensures that you know exactly how the color will render in the particular area you plan on using it.
Here’s how to make the most out of your paint samples:
- Pick 2-4 shades / hues of the color. If you’re using more than one color (grey and blue), but them both so you can see them side by side.
- Don’t forget that time of day changes how they’ll appear, so look at them first thing in the morning (partial sun), mid-day (full sun) and at night (artificial lighting).
- Paint an area that’s at least 12”x12”.
- Leave the paint up for a few days, so you have adequate time to commit.
Once you have your sheen and color nailed down, get your supplies!
Now that you’re all set to start your project, make a list of what you’ll need to start and finish the project. The worst thing is being 10 percent from completion only to realize you don’t have enough paint, tape of rollers. Here’s a list of commonly used painting supplies:
- Paint and primer
- Ladder
- Extension roller (if you’ll be painting areas up high)
- Painter’s tape
- Rollers and brushes
- Tarp to cover surfaces around area to be painted
- Paint trails
- A pair of clothes you don’t mind getting covered in paint 🙂
Not quite yet.. Prep is key!
Now that you have all of your supplies, you might be eager to start painting, but don’t skip the prep step. It’s an important one! Here are a few steps to take prior to your first paint stroke.
- Move everything out of the area. This ensures you have enough space to work and fewer things to protect from paint.
- Remove all electrical plate covers and switch plates.
- Repair any imperfections. This may entail sanding a few uneven areas down or filling nail holes with putty.
- Apply painter’s tape to areas like baseboards, windows and doors to ensure your new color doesn’t stray.
- Cover the floors, countertops, etc. with a drop cloth or tarp to project the areas against drips and spills.
- Wash the surface with a mild detergent and dry them with a cloth that doesn’t shed.
- Ensure the area is free of dust and pet hair. You don’t want that to end up in your paint.
You’re all set to paint. Have fun!
Now that you’re all ready to paint, put on your favorite music station and have some fun! We hope these tips provided you with the confidence to start your painting project. Of course, if you have any questions about our services or custom homes in the Cedar Rapids, Marion and Iowa City Corridor, please contact us. We’re here to help!
Sorry, the comment form is closed at this time.